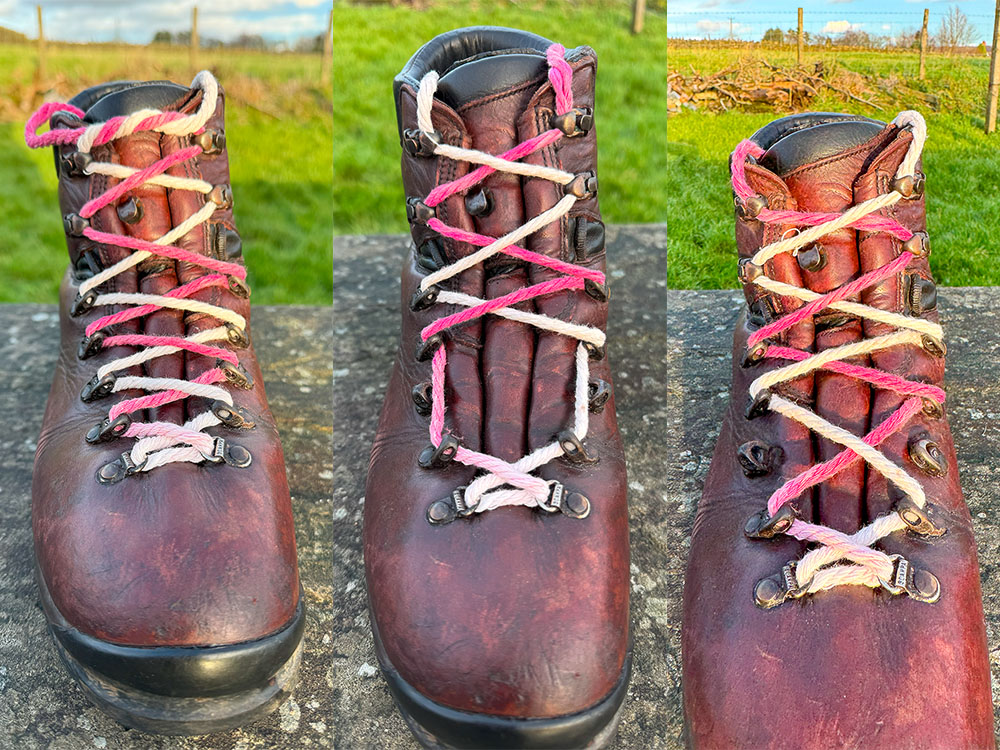
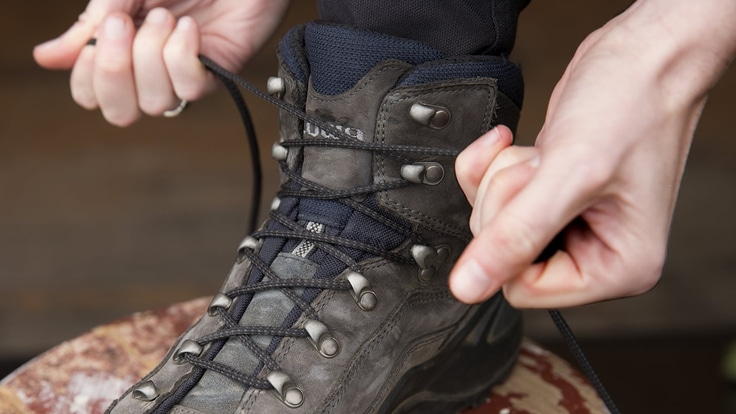
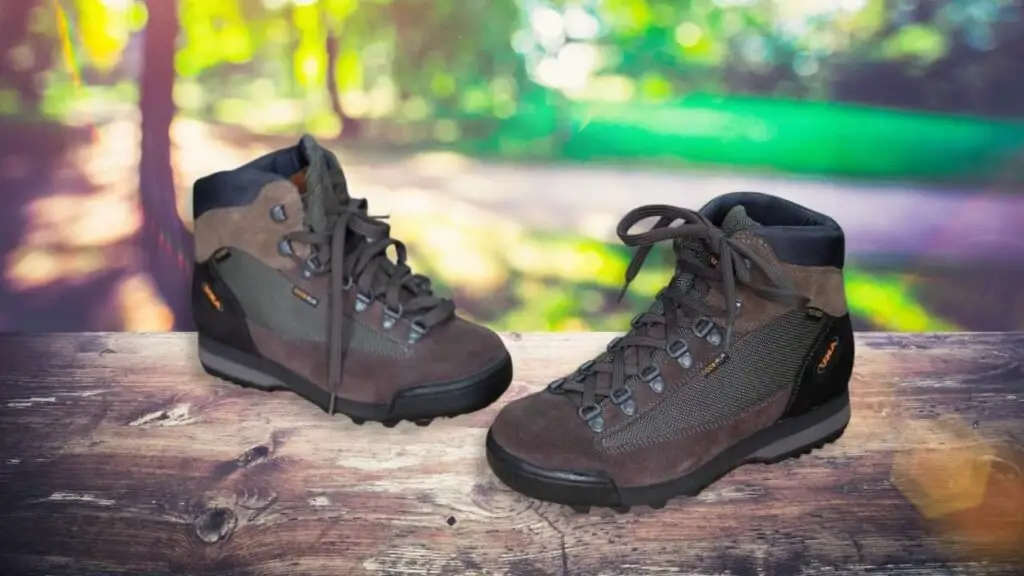
To lace hiking boots, start by threading the lace through the bottom eyelets and pulling it evenly. Then, crisscross the lace through the remaining eyelets and tie a secure knot at the top.
Lacing your hiking boots properly is crucial for a comfortable and secure fit that can prevent blisters and provide better ankle support. The right lacing technique can also customize the fit based on the shape of your foot and the type of terrain you’ll be covering.
Whether you prefer the traditional crisscross pattern or want to experiment with alternative lacing methods, this guide will walk you through various techniques to help you find the perfect fit for your hiking adventure. Mastering the art of lacing your hiking boots can greatly enhance your overall outdoor experience, providing the comfort and confidence needed to tackle any trail.
Different Lacing Techniques For Hiking Boots
Choosing the right lacing technique for your hiking boots can make a big difference in comfort, stability, and support, especially on challenging trails. Whether you’re dealing with heel slippage, pressure points, or a need for extra ankle support, each method has its own advantages. Here are some popular lacing techniques every hiker should know:
Traditional Criss-cross Lacing
The Traditional Criss-Cross Lacing method is the most common way to lace hiking boots. It involves crossing the laces over each other in an “X” pattern, weaving them through the eyelets or hooks from the bottom to the top of the boots. This technique offers excellent support and distributes pressure evenly across the foot, making it suitable for most hiking conditions. It also helps to secure the boot snugly to your foot, preventing movement inside the boot, which can cause friction and lead to blisters.
Benefit: Simple yet effective for providing overall foot and ankle support
Best For: General hiking, long-distance treks, and level trails
Lock Lacing (Heal Lock)
Lock Lacing, also known as the Heel Lock technique, is designed to lock your heel securely into place, preventing slippage during steep ascents or descents. To achieve this, once you reach the top two hooks of your boots, you create a loop with the laces and cross them before hooking them into the top eyelets. This forms a secure loop around the ankle, anchoring the heel firmly inside the boot.
By incorporating this method, you not only reduce the risk of blisters on your heels but also enhance the overall fit and feel of your hiking boots, especially during intense hiking activities.
Benefit: Keeps the heel locked in place for maximum stability and prevents blisters
Best For: Steep climbs, rocky terrain, and hikers with heel slippage
Ladder Lacing
Ladder Lacing is a less common but highly effective method that reduces pressure points on the top of your foot. Instead of criss-crossing the laces, they are threaded vertically between the eyelets, forming a “ladder” pattern. This style allows you to customize the tightness at specific points along the boot, which is especially useful if you experience discomfort from traditional lacing patterns.
The Ladder Lacing technique distributes pressure more evenly across the foot, making it ideal for those who want a customizable fit, reducing pain or discomfort on longer hikes. This technique is particularly helpful for hikers with wide feet or those prone to pressure-related discomfort.
Benefit: Reduces pressure on the top of the foot and offers a fully customizable lacing solution
Best For: Customizable fit, wide feet, and those who experience pressure points

Credit: www.walks4all.com
Step-by-step Guide To Lacing Hiking Boots
This step-by-step guide provides an easy-to-follow tutorial on how to properly lace your hiking boots for ultimate comfort, stability, and foot protection during your outdoor adventures. Whether you’re a beginner hiker or a seasoned backpacker, mastering the right lacing technique is crucial to prevent discomfort and injury. Follow these expert tips and clear instructions to ensure your boots fit like a glove and keep your feet secure on the trails.
Start With A Secure Base
Before lacing, place your hiking boots on your feet, ensuring a snug and secure fit. Tighten the base area of the boots, starting from the bottom, to create a strong foundation. This will prevent foot movement inside the boots, which can lead to friction and blisters during long hikes.
Adjust The Tightness
Make sure the laces are tight enough to hold your feet in place but not so tight that they cut off circulation. Tightness should be adjusted to match the terrain you’re hiking—tighter for rugged, uphill climbs and looser for level or downhill sections. Customizing the tightness at different sections of the boot will provide the right balance between support and flexibility.
Lace Up In A Criss-cross Pattern
Begin lacing your boots in a traditional criss-cross pattern, working your way up from the base. This technique helps distribute pressure evenly across your foot, reducing strain on any one area. If you need extra ankle support, try the “heel lock” method by threading the lace around the hooks near the top of your boots, locking your heel securely in place.
Secure The Ends
After reaching the top, tie the laces in a double knot to prevent them from loosening during your hike. You can also tuck the laces into your boots or under the laces for extra security, especially if you’re trekking through rough or uneven terrain.
Check For Comfort
Before heading out, walk around to ensure your boots feel comfortable. Pay attention to any pressure points, tight spots, or looseness, and adjust the lacing as needed. If your feet swell during the hike, you may need to loosen the laces slightly to maintain comfort without sacrificing support.

Credit: www.rei.com
Properly lacing your hiking boots is essential for a comfortable and secure fit on the trails. By following the techniques mentioned in this guide, you’ll be able to adjust the tightness, prevent blisters, and provide extra support where needed. Remember, the right lacing technique can make all the difference in your hiking experience.
No matter what type of footwear you use—whether it’s boots, trail runners, or shoes—learning how to lace them properly ensures a more enjoyable hike. To better understand which type of footwear suits your adventure, explore this guide on hiking boots vs. hiking shoes vs. trail runners.
So, lace up your boots and hit the trails confidently!
FAQs:
How Should Hiking Boots Be Laced?
For proper lacing of hiking boots, start at the bottom, crisscross and pull snugly. Secure the ankle area with a locking technique. Finally, tie a double knot at the top for added support. This lacing method ensures a secure and comfortable fit for your hike.
Is There A Correct Way To Lace Boots?
Yes, there is a correct way to lace boots. Properly lacing boots ensures a secure and comfortable fit. Start by inserting the laces through the bottom eyelets. Crisscross the laces all the way up, making sure they are evenly tensioned.
Finally, tie a strong knot to secure the laces in place.
How Do You Lace Hiking Boots To Prevent Toe Pain?
To prevent toe pain when hiking, lace your boots snugly but not too tight for comfort. Ensure the laces are evenly tightened and avoid pressure points on the toes. Adjust the fit as needed to relieve any discomfort.
How Do You Lace Hoka Hiking Shoes?
To lace Hoka hiking shoes, start by threading the laces through the bottom eyelets. Crisscross them up the shoe, ensuring a snug fit for proper support and comfort on your hike.


